Developing Jenkins Pipelines on Top of Docker for Windows
I am Toni and I work as a full stack developer at Knowit. I also instruct a Getting started with Jenkins course. In this post, I give a sneak peek to first step of the course, setting up Jenkins to run in container with Docker on Windows, and describe my setup for developing Jenkins pipelines with Docker for Windows and WSL.
 There are three main reasons, why I prefer running Jenkins inside a container instead of a native application: I can use the same setup on both Windows and Linux machines, I only need local Jenkins occasionally, and I am not a big fan of installing software to my machine. The containers provide smooth cross-platform experience and the flexibility to only have the Jenkins image on my machine when I need it.
This post is split up in three sections: installing Docker for Windows, tuning the Docker for Windows setup to work with Windows subsystem for Linux, and launching and preparing the Jenkins container.
Install Docker for Windows
To install Docker for Windows follow instructions from Docker. During the installation, make sure to select Linux containers instead of Windows containers. This is the default option and can be changed later if necessary. The Jenkins container, and most of the other available containers, are Linux based. To test the installation, try to run hello-world container with docker run hello-world in PowerShell. See also getting started instructions from Docker.
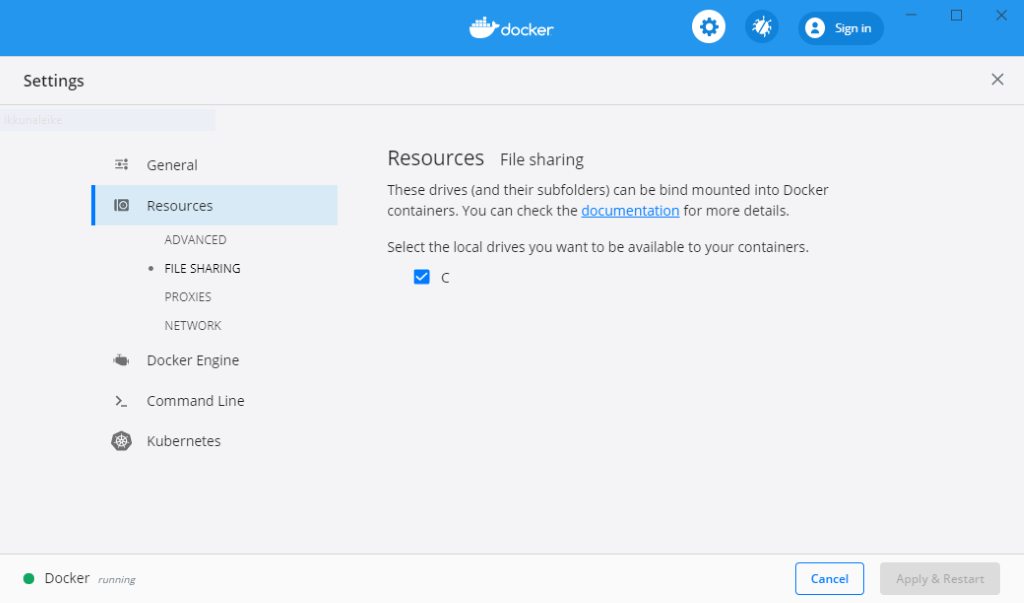
After successfully installing Docker for Windows, check settings for file sharing from Windows drives to Docker engine. To enable mounting the Windows directories to Docker for Windows, select drives to be mounted in file sharing menu available under resources tab of the Docker for Windows settings. See screenshot below for an example. This is not mandatory if you do not want to share your Windows file system with the Docker containers.
Sharing Windows drives to Docker container via Docker for Windows  Usage with Windows subsystem for Windows
If you are happy to use PowerShell instead of Windows subsystem for Linux (WSL) to run the occasional Docker commands you can skip this section. At the time of the writing WSL 2 is still in preview so these instructions apply for WSL 1. If you are reading this in the future and WSL 2 has been released these instructions might be outdated.
There are three main problems to take care of in order to smoothly use Docker for Windows from WSL: You must have Docker installed in WSL, the Docker client in WSL must be able to connect to Docker for Windows, and the Windows disk has to be mounted at the root of the WSL file system.
Installing Docker inside the WSL is very straightforward. Follow the instructions from Docker for the distro you have chosen to run in WSL. Just do not try to run the Docker engine inside WSL or to enable starting the engine on boot, as this will fail. You might want to also install docker-compose.
To enable the Docker client in WSL to communicate with Docker for Windows the Docker socket has to be available to WSL. This can be done by exposing Docker daemon on tcp://localhost:2375 without TLS in the Docker for Windows settings. The option comes with a warning, and to be safe you can make sure that the Windows firewall blocks incoming traffic to port 2375, which it should do by default. Once the option has been enabled, add following line to .bashrc file in the home directory of you WSL user to tell the Docker client in WSL where the Docker engine is running:
export DOCKER_HOST=tcp://localhost:2375
Finally, for smoothly mounting files or directories from WSL to Docker, the file paths have to be synced between the services. In WSL the drives should be mounted by default. However, the drives are mounted in /mnt directory, which means the paths will have /mnt/ prefix that is not present for the Docker engine. To sync the file paths, set the Windows drives to be mounted to the root of the WSL file system by adding the following options to /etc/wsl.conf file in the WSL filesystem as suggested by WSL documentation:
[automount]
enabled = true
root = /
options = "metadata,umask=22,fmask=11"
mountFsTab = false
Note that as both WSL and Docker for Windows are in the background enabled by virtualization, the volumes to be mounted must be available to both services. For example, you could use directory in the C drive to achieve this. In addition, for these changes to have effect the machine must be rebooted.
Launching the Jenkins container
Before launching the Jenkins container, we need to make a small addition to the Docker image in order to be able to launch other Docker containers from inside the Jenkins container. We need to install Docker client inside the image and to do this we create a file called Dockerfile inside a build directory with following content:
FROM jenkins/jenkins:lts-alpine
USER root
RUN apk add docker
# Note that the user is not switched back to jenkins here. This is to avoid problems with docker socket permissions.
# Do not use root user in production. Instead, match group IDs of docker group.
Similarly than in WSL, we are not able to run Docker inside the Jenkins container. We need to mount the Docker socket provided by Docker for Windows to the Jenkins container. This is often referred as Docker-in-Docker, which sounds like we would be spawning child containers while the launched containers are actually siblings of the Jenkins container.
This Docker-in-Docker setup will allow us to use Docker containers as the execution environment for the pipelines and to avoid having to install and maintain any build tools in the Jenkins container. The pipelines running in the Jenkins container are able to use containers for pipelines and build stages through docker and dockerfile agents.
In addition to Docker socket, we want to create and mount a persistent storage to the Jenkins container for the Jenkins home directory to avoid losing our data when the container is restarted. This can be done by creating a Docker volume and mounting it to the Jenkins container. Alternatively, we could mount a directory from the host system to the Jenkins container. This would allow easier inspection of the contents of the Jenkins home and job workspaces.
Finally, to be able to easily reach the Jenkins user interface with a browser, we will bind host machine port 8080 to point to port 8080 in the Jenkins container. This will allow us to navigate to Jenkins UI with URL http://localhost:8080 without having to know the IP address of the container. Additionally, if you are planning to use JNLP based slaves, you need to also bind port 50000 and configure this in the Jenkins UI.
In order to launch a Jenkins container with the above described configuration, we will create a docker-compose configuration. This allows us to configure the options in cleanly formatted yaml file instead of having to pass everything as command line arguments to Docker run command. This file should be called docker-compose.yml and it should have following content:
version: "3"
services:
jenkins:
build: build/
ports:
- 8080:8080
volumes:
- "jenkins.data:/var/jenkins_home"
- "/var/run/docker.sock:/var/run/docker.sock"
volumes:
jenkins.data:
You should now have created two files, build/Dockerfile and docker-compose.yml. Note that the docker-compose.yml expects to find Dockerfile in a sub-directory called build.
To launch this Docker compose setup, navigate to directory where your docker-compose.yml is located and run docker-compose up -d in PowerShell or WSL. This will create volume for the Jenkins data, launch the container with above described options, and mount the created volume to the container. The data volume is not deleted when the container is taken down unless you specify -v or --volume option to docker-compose down.
You can now navigate to http://localhost:8080 to access the Jenkins UI. It should be prompting you for an initial admin password at this point. Run docker-compose exec jenkins cat /var/jenkins_home/secrets/initialAdminPassword to see this password.
For the easiest initial setup, install the suggested plugins, skip creating additional user account, and skip configuration of the Jenkins URL. These setting can be later configured through the manage Jenkins menu.
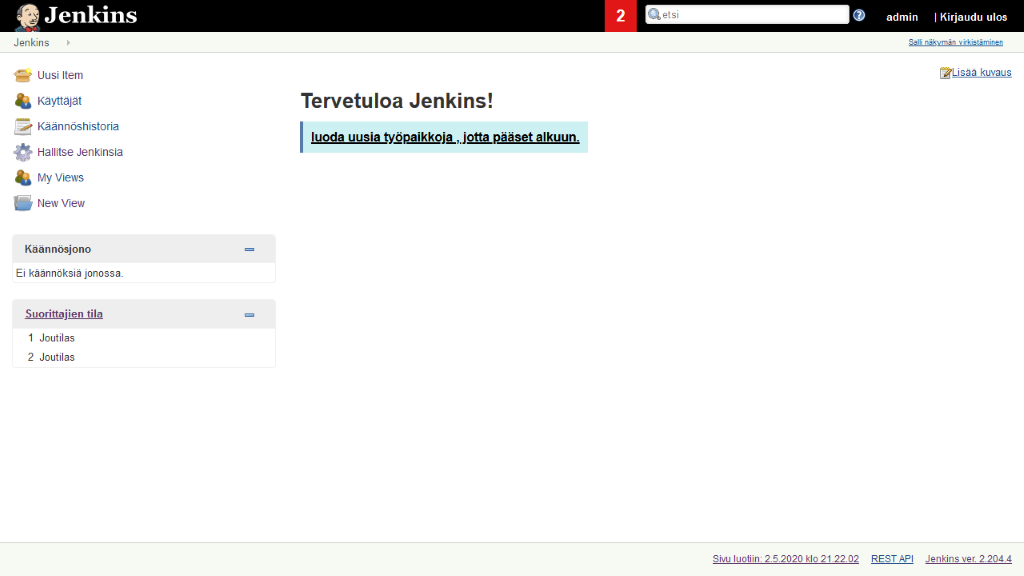
The Jenkins UI uses browsers locale to determine the language, so for different language you have to change your browser settings or install locale plugin and set the language from the Configure System available in Manage Jenkins menu.
The finnish translations might be a bit misleading at times. 
To summarize, the Jenkins setup described in this post requires installing Docker for Windows and launching a Jenkins container. In order to be able to start Docker containers from inside the Jenkins container we mounted Docker socket from the Docker for Windows to the Jenkins container. Additionally, we created persistent volume for the Jenkins home and binded host port 8080 to the container, for better usability and easier access to the Jenkins UI.
You should be ready to start developing pipelines now.
About trainings and courses at Knowit: During the Covid 19 pandemic we are holding all courses online. Please contact Kari Kakkonen for more information on courses and practicalities: kari.kakkonen@knowit.fi and +358 40 523 9004


